Microsoft 365 has a wealth of security features and settings you can configure and implement to harden the security of your tenant. Among these are the alerts that are part of Microsoft’s Compliance center. This area houses the policies and reporting features of 365. Microsoft includes some alerting that can be managed here, including several pre-built default alerts you may not be aware of, but you can disable or even create custom alerts to suit your needs. It's important to be aware of which alerts are enabled or disabled as this can mean reducing the time you spend manually looking for certain activity or reducing the number of false positives you go through. Below we will go in depth on how to access, modify and create alerts.
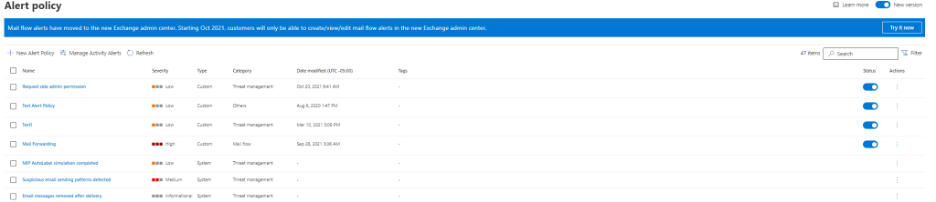
1. Accessing the alertsYou first log into the Microsoft Compliance Center. To view all of the defaults and any custom alerts created, click on the “Policies” tab, then on the “Alert Policies”. You can distinguish between custom and default alerts via the status switch on the far right: custom ones have the switch visible, while the default ones will not have it at all. You can also use the “Type” Column - those values are “Custom” or “System”.
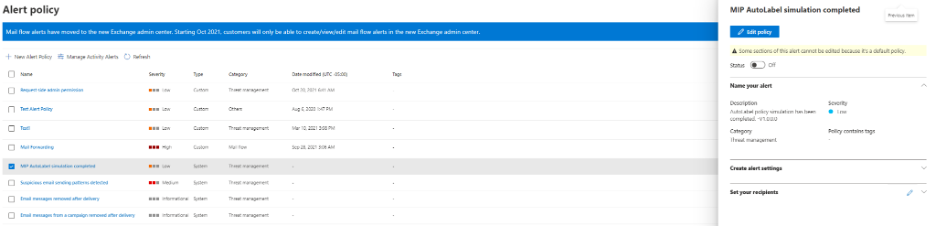
This action may be required to cater to your organization’s unique circumstances and reduce false positives. The customization is very limited for default alerts: you can change who gets alerted or disable the alerts altogether. To enable or disable alerts, click on the alert you want to modify, and a window will pop out from the right side, which allows the switch of the status from on to off. The default alerts come enabled by default when a tenant is created; you may want to disable some of the default ones if the alerts generate false positives.
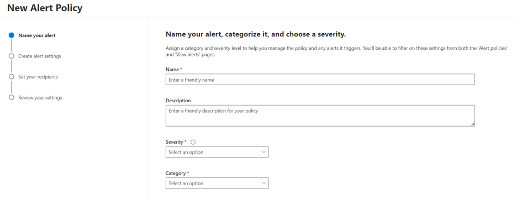
Click on the New Alert policy button on the left side near the top. A pop up will appear. Information about the alert such as the Name and Description can be filled.
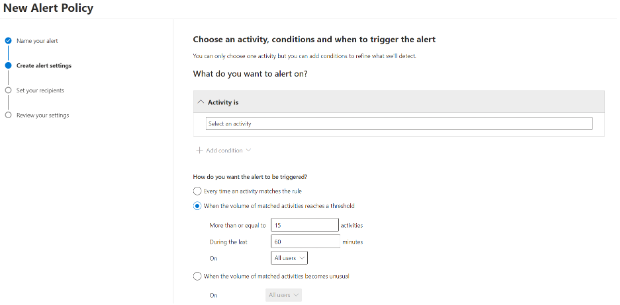
The next page will help build out the logic for the alert. Depending on the license, you will see certain activities that can be used. Each activity has its own set of conditions that can be set before an alert is triggered. These conditions include but are not limited to filtering activity for individual users, IPs or file names. If your license permits, you can also include thresholds on these alerts or select when the activity becomes unusual.
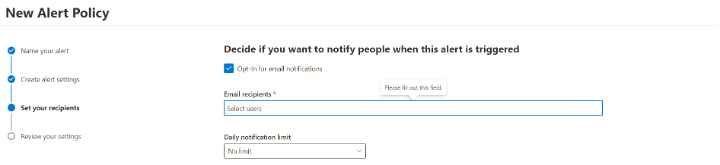
Once you are done building the logic on the next page, you can assign recipients for the alert and select a daily limit.
On the last page all the settings for this alert can be reviewed and a selector switch to enable the alert right away or leave it off will be visible. Once it's submitted, it will appear with the list of alerts.
You can find additional information about default alerts and in-depth descriptions as to what each section for the custom alert creation is on the Microsoft site here.
At Gradient Cyber, we currently ingest these logs and look at alerting and building custom alerts based on activity. For more information and any questions you may have, please feel free to contact us.